
Abstract
This step-by-step feature provides a pictorial description of the commissurotomy procedure. Commissurotomy can be performed to increase surgical access to the caudal oral cavity for procedures such as total mandibulectomy, caudal mandibulectomy, and surgical access to the mandibular ramus.
Performing oral surgery in the caudal oral cavity of the dog can be challenging. If adequate exposure cannot be obtained by simple retraction, commissurotomy may be considered. Performing a commissurotomy is a simple yet effective procedure that will allow greater access with improved visualization and surgical access. 1
The oral cavity is rinsed with a dilute chlorhexidine solution. Hair is clipped, and the skin is surgically prepared using either povidone-iodine or chlorhexidine, being careful to avoid full-strength chlorhexidine from getting in the mouth (Figure 1).
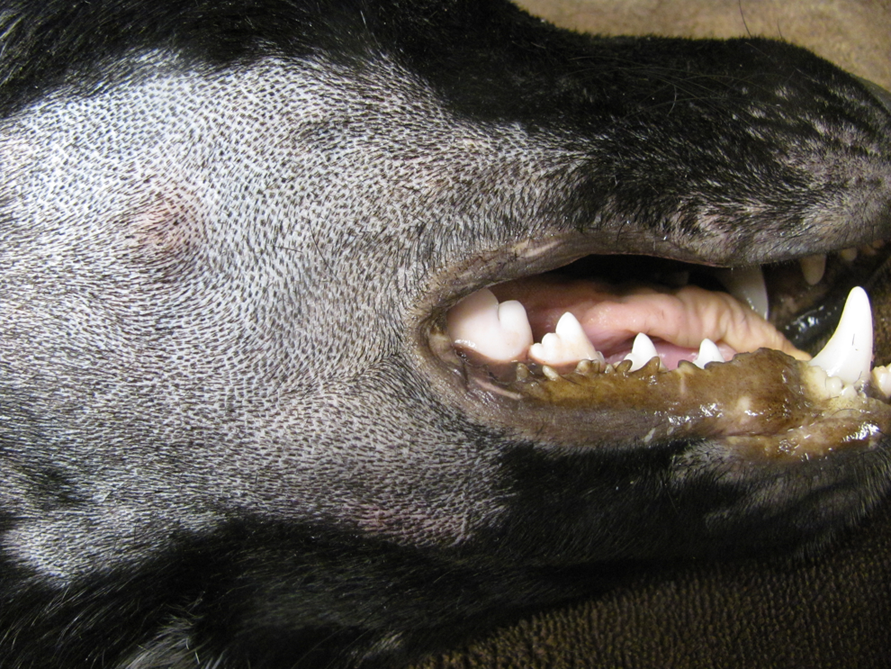
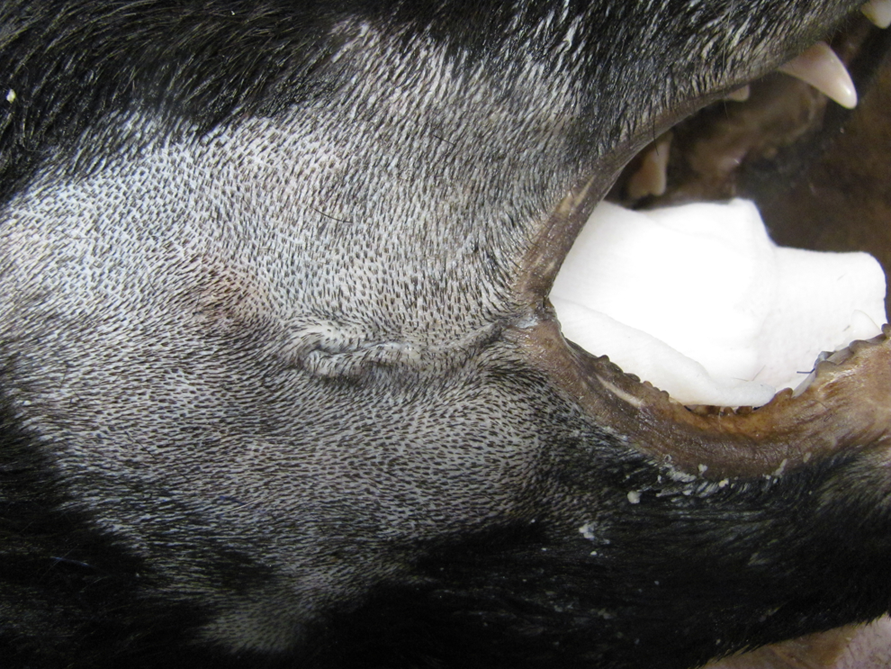
Photograph showing aseptically prepared skin for commissurotomy.
The incision begins at the lip commissure using a #10 or #15 blade, extending full-thickness through the skin, buccinator muscle, and mucosa in a caudal direction (Figures 2 and 3). Three important anatomic structures run in parallel with the incision. The dorsal buccal branch of the facial nerve and the parotid duct sit dorsal to the level of the incision. The ventral buccal branch of the facial nerve lies at the same level of the commissure in the dorsoventral plane and begins to give rise to smaller nerve branches at the level of the lateral canthus of the eye in the craniocaudal plane. 2 The judicious use of bipolar electrocautery (ideally avoiding incised mucosa edges) or ligation of bleeding vessels enhances visualization and provides hemostasis. The incision is extended caudally to provide the necessary amount of exposure (Figure 4).
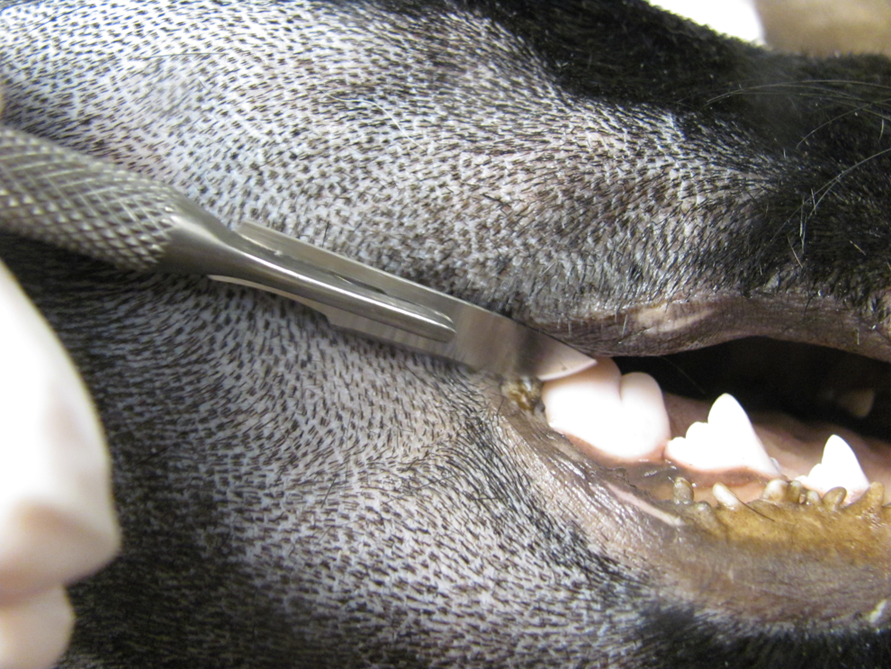
Photograph of a #10 surgical blade used to make the initial incision at the lip commissure. The incision is extended caudally to provide necessary amount of exposure. Although not shown in the photograph, a sterile tongue depressor or Seldin elevator may be placed medial to the mucosa to provide a firm surface for incising and to prevent unintended trauma to deeper structures.
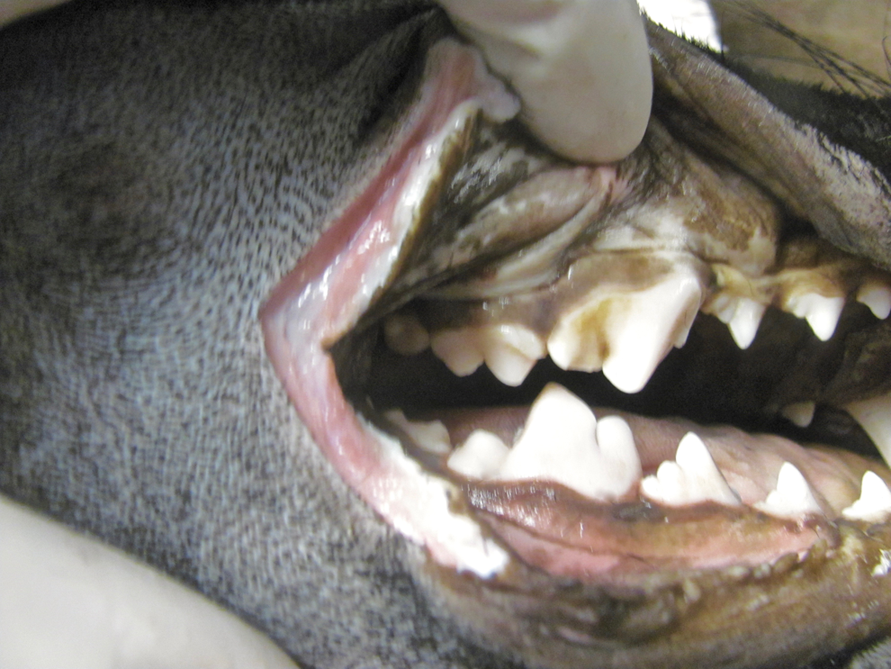
Photograph of the full-thickness commissure incision.
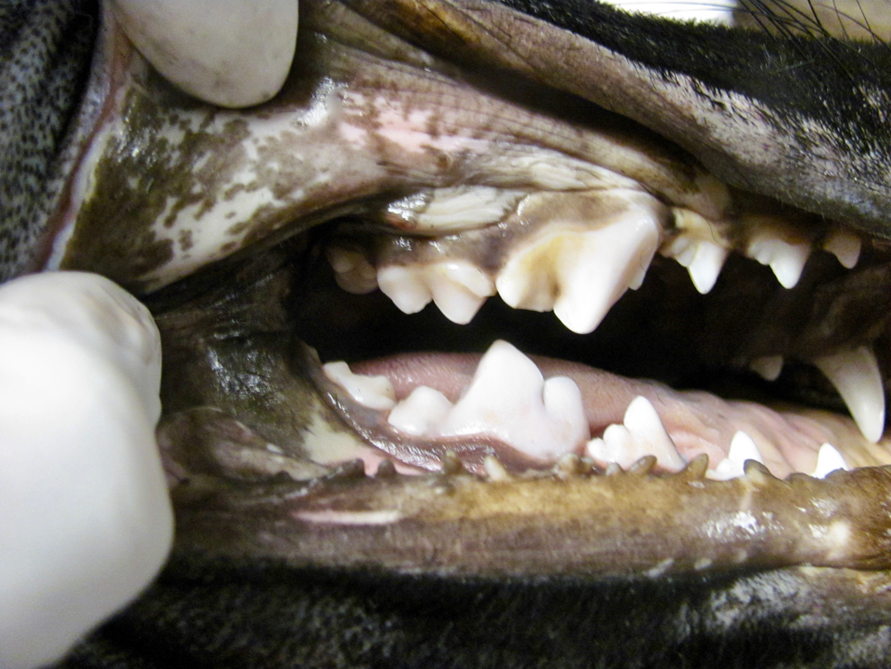
Photograph showing increased exposure after the full-thickness commissurotomy.
Closure is performed in 3 layers, beginning at the most rostral aspect of the incision and continuing caudally. Closure is performed beginning with the oral mucosa (Figure 5). A simple continuous or simple interrupted suture pattern may be used. The next layer combines the submucosa, connective tissue, and muscle with a simple continuous pattern (Figure 6). The skin is closed with a running subcuticular (intradermal) pattern using absorbable monofilament suture (Figure 7). Nylon skin sutures may also be placed utilizing a cruciate or simple interrupted pattern.

Photograph showing the first layer of closure of the commissurotomy. Closure of the mucosal layer starts at the rostral-most extent and continues caudally.

Photograph of the second layer of closure. The submucosa, connective tissue, and muscle are closed with a continuous suture pattern.
Photograph of the third layer of closure utilizing a running subcuticular pattern.
Possible complications of the procedure include intraoperative bleeding, postoperative swelling, and dehiscence. Dehiscence is less likely with commissurotomy than with commissurorraphy due to less tension on the site when the mouth is opened to full range of motion.
Footnotes
Declaration of Conflicting Interests
The author(s) declared no potential conflicts of interest with respect to the research, authorship, and/or publication of this article.
Funding
The author(s) received no financial support for the research, authorship, and/or publication of this article.